Shading
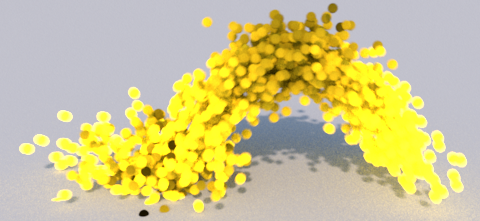
The particles can be shaded like any other object in Guerilla, but you can also create complex particle effects using the particle attributes. We'll show some simple exemples here.
Using the default shaders
The particles can be shaded with the standard shaders,
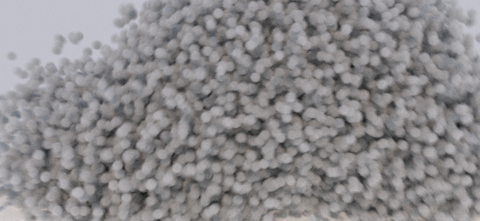
Here is a summary of the particle mode and shader compatibility :
| Particle Mode | Particle Shader | Surface Shader | Volume Shader | Curve Shader | SSS Support |
|---|---|---|---|---|---|
| Sphere | Yes | Yes | Yes | No | No |
| Streaks | Yes | No | No | Yes | No |
| Sphere | Yes | Yes | Yes | No | No |
| Blobby | Yes | Yes | Yes | No | Yes |
| Sprites | Yes | Yes | No | No | Yes |
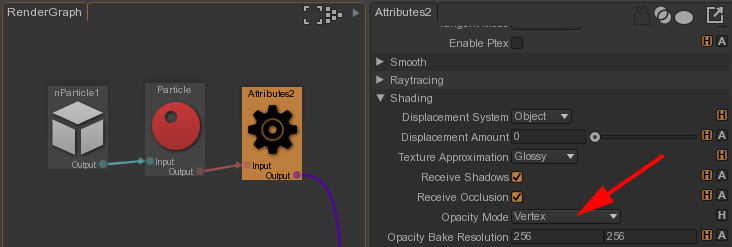
First, in the RenderGraph, add a
Then, select the
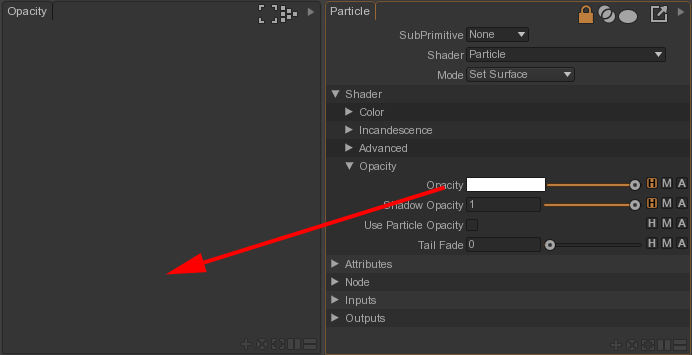
In this sub-shader, create a
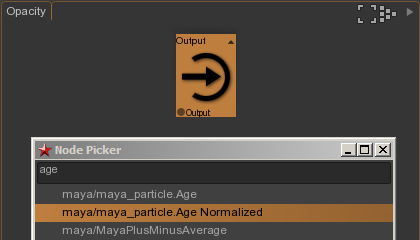
Add an
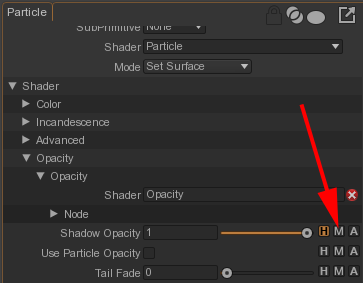

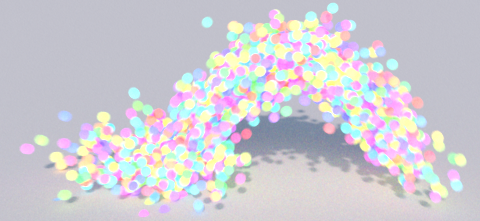
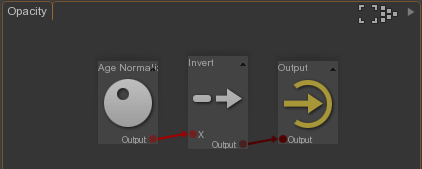
In the Particle node, activate the sub-shader for the
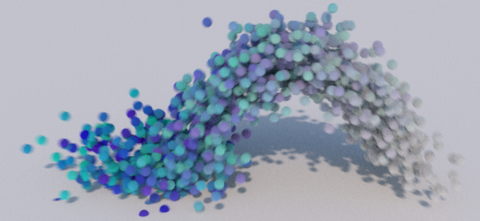
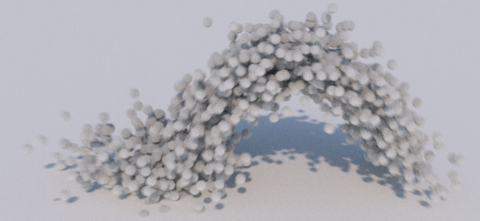
The result without and with the effect.
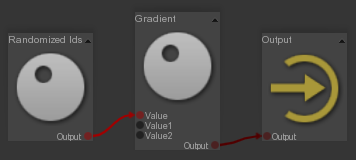
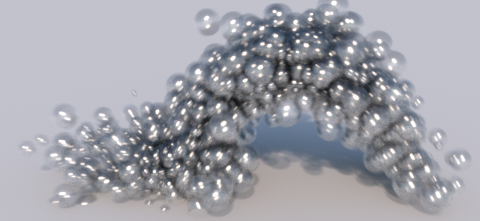
Use the same technique as above but override now the
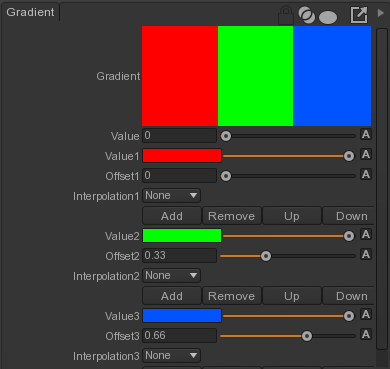
Here is the gradient we use, three constant colors.
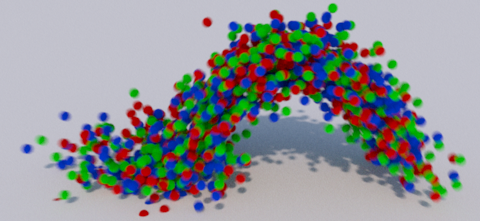
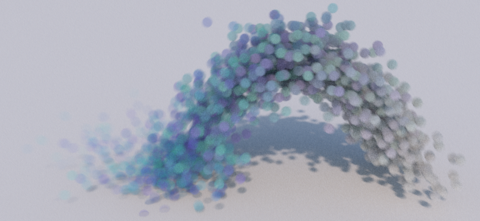
The result without and with the effect.

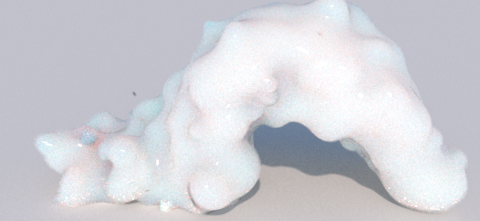
Use the same technique as above but override now the
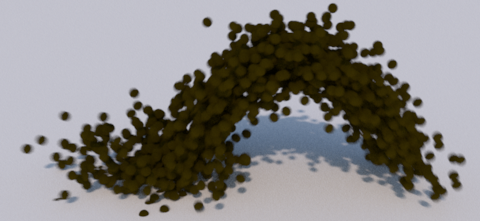
The result without and with the effect.
Write SL shaders for the particles
The particle attributes can also be accessed by the SL Box, to write more complex effects.
Here is a summary of the SL parameters available to the shader for each particle mode :
| Particle Mode | st (texture coordinates) | v (curve parameter) | N (normal) | float12 (particle id) |
|---|---|---|---|---|
| Sphere | No | No | Yes | Yes |
| Streaks | No | Yes | No | Yes |
| Sphere | No | No | Yes | Yes |
| Blobby | No | No | Yes | No |
| Sprites | Yes | No | Yes | Yes |
Here is a summary of the SL parameter to use to access the Maya Particle attributes exported with the Guerilla plug-in :
| Attributes | SL parameter | Comments |
|---|---|---|
| Acceleration | color3 | |
| Age | float12 | |
| Age Normalized | float12/float13 | Computed with Age and Lifespan |
| CollisionNormal | color6 | |
| CollisionTime | float18 | |
| CollisionUV | st4 | |
| Emission | color4 | |
| Force | color5 | |
| Ids | float12 | |
| Randomized Ids | float12*0.61803398874989-floor(float12*0.61803398874989) | Computed with Ids |
| Lifespan | float13 | |
| Mass | float14 | |
| Opacity | alpha | |
| ParentUV | st3 | |
| Radius | float11 | |
| RGB | Cs | Color in Guerilla |
| SpriteScale | st2 | |
| SpriteTwist | float16 | |
| Velocity | color2 |